
Introduction
When the iPhone repeatedly displays the “storage full” message, it’s frustrating for users who rely on their device for photos, apps, and day-to-day responsibilities. Older versions of the iPhone have a smaller capacity that includes 128GB for an internal garage filled with high-definition media content. A geeky way to clean up this problem is to do a NAND improvement, replacing the memory chip with a better capacity chip (e.g. 512GB).
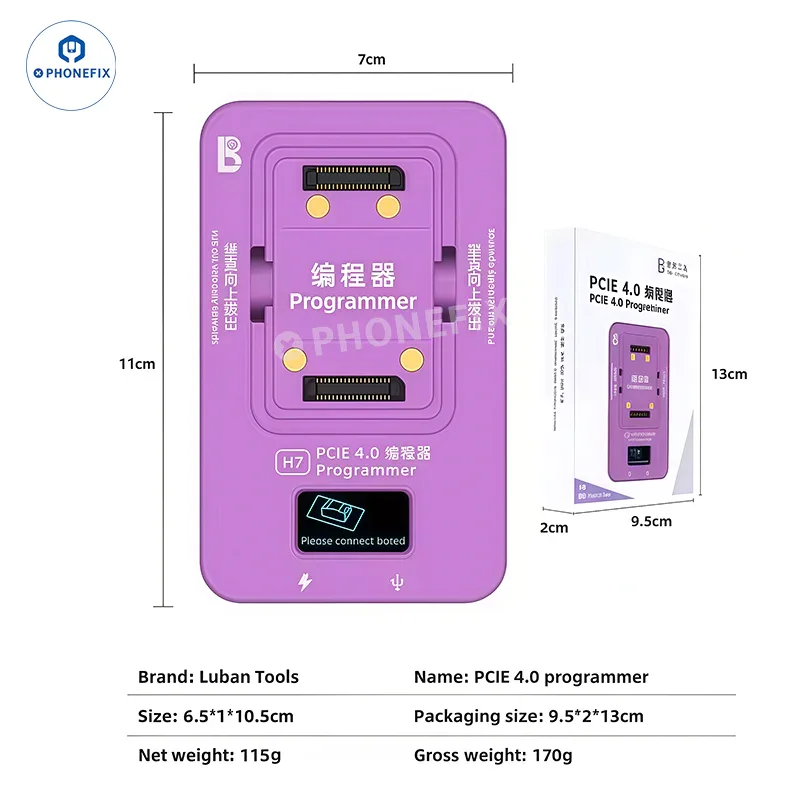
This method is no software hack but requires hardware expertise and tools from expert repair communities equipped with DIY Fix machines. The upgrade method involves handling NAND Flash memory, soldering, and programming using a tool such as the PCIE NAND programmer. Often, technicians will also need a BGA Reballing Stencil to finish and reattach chips to the motherboard.
Why iPhone storage is full and the role of NAND Flash
iPhone storage will be filled with increased app length, gadget facts, photos, movies, and other stats and documents. Even after the user clears it, it starts generating system information that eventually fills the cache. This is especially real with older equipment that doesn’t have enough Storage for priority needs.
Technically, all iPhone data is stored on a NAND Flash memory chip, which is the phone’s data garage device. If this NAND is full or damaged, your mobile device may slow down or show garage-related problems. In repair shops, technicians often test NAND Flash behavior before deciding whether a storage upgrade requires a NAND Flash Data Migration method to see if data can be moved to a better capacity chip .
To understand iPhone NAND upgrade from28GB to 512GB
The improvement of NAND from 128GB to 512GB is a hardware-level change where the individual storage chip is replaced with a larger capacity NAND Flash chip. This fix is usually performed through skilled smartphone repairmen who can ‘repair’ vintage iPhones just like buying a new device. This treatment is touchy; If not performed correctly, it can cause damage to the motherboard.
When changing the garage tile, it is important that it is reprogrammed to inform the iPhone of the new garage length. This is where the PCIE NAND Programmer becomes important, as it helps parse, write, and edit the firmware data on the vintage chip. Failure to software the new chip may also result in the device not booting or displaying incorrect capabilities after installation.
Tools Needed for NAND Upgrades and Motherboard Repair
Improving NAND requires appropriate tools. An important tool is the PCIE NAND Programmer, which helps with NAND Flash recall operations, including reading individual information, programming new firmware, and restoring the size of the NAND garage in the event of damage It is desirable to ensure that the new 512GB chip is nicely installed before setting up this device.
The BGA Reballing Stencil is also used to safely replace and attach NAND chips, ensuring efficient placement of solder balls. This ensures that the solder balls are properly positioned within the work and prevents damage to the motherboard. These are vital tools in specialist restoration shops, which include a DIYFixtool for the maintenance and improvement of complex logic boards.
Step-by-Step NAND Upgrade Process Overview
The NAND upgrade method involves isolating the iPhone to check for inspection and a good idea board. The first step within the method is to check the existing NAND data using the PCIE NAND programmer to minimize backup of devices. This data is important for maintaining the device series and firmware structure that you want to copy to the new chip.
Once registers are removed, the original NAND chip is carefully removed using heat and special tools, such as the BGA Reballing Stencil to ensure proper soldering and then 512GB of NAND is arranged, programmed, and attached to the board. Testing is then performed to ensure that it is securely connected and that the smartphone boots correctly with the increased storage.
Data Migration, Trials, and Risks in the NAND Upgrade Process
Finally, after installing a new NAND chip, the information will transfer to revive the iPhone. Considering that apps, settings, and device files are returned with the help of the PCIE NAND programmer, this system is important because current device information is written back to the new NAND and improper information writing can lead to failure.
After moving the records, several tests are performed including boot look at, storage test and performance look at. Now the iPhone should have exactly the 512GB and also-new photos. However, there are certain risks anyway, such as motherboard damage, statistical corruption, or solder problems, so it’s important to use a tool like the BGA Reballing Stencil to ensure accuracy and consistency at all stages of the upgrade .
Conclusion:
Upgrading iPhone from 128GB to 512GB is not an easy task and requires knowledge, precision, and special tools. It is not just about chip selection but about maintaining compatibility of the whole device, with firmware and statistical structure. When done right, it can provide a new existence for the iPhone and improve its talents for modern use cases.
Using high-performance tools such as the PCIE NAND Programmer and BGA Reballing Stencil can help make these complex motherboard maintenance sounds, when coupled with fact management and execution, this approach provides a practical alternative to those managed by garages, and makes NAND Flash recycling a full-fledged add-on modern phones.